
Field Recording in Extreme Cold: A Practical Guide to Gear, Cables & Power
Before my first recording trip into Antarctic conditions, I spent weeks trying to answer one question: What actually survives the cold? Most gear isn’t designed for these temperatures, and the wrong choice can end a session before it begins.
In this guide, I’ll walk you through the four essential pillars of building a cold-proof recording kit: microphones, cabling, power, and protective housing - based on real field experience in Antarctica and the Sub-Antarctic.
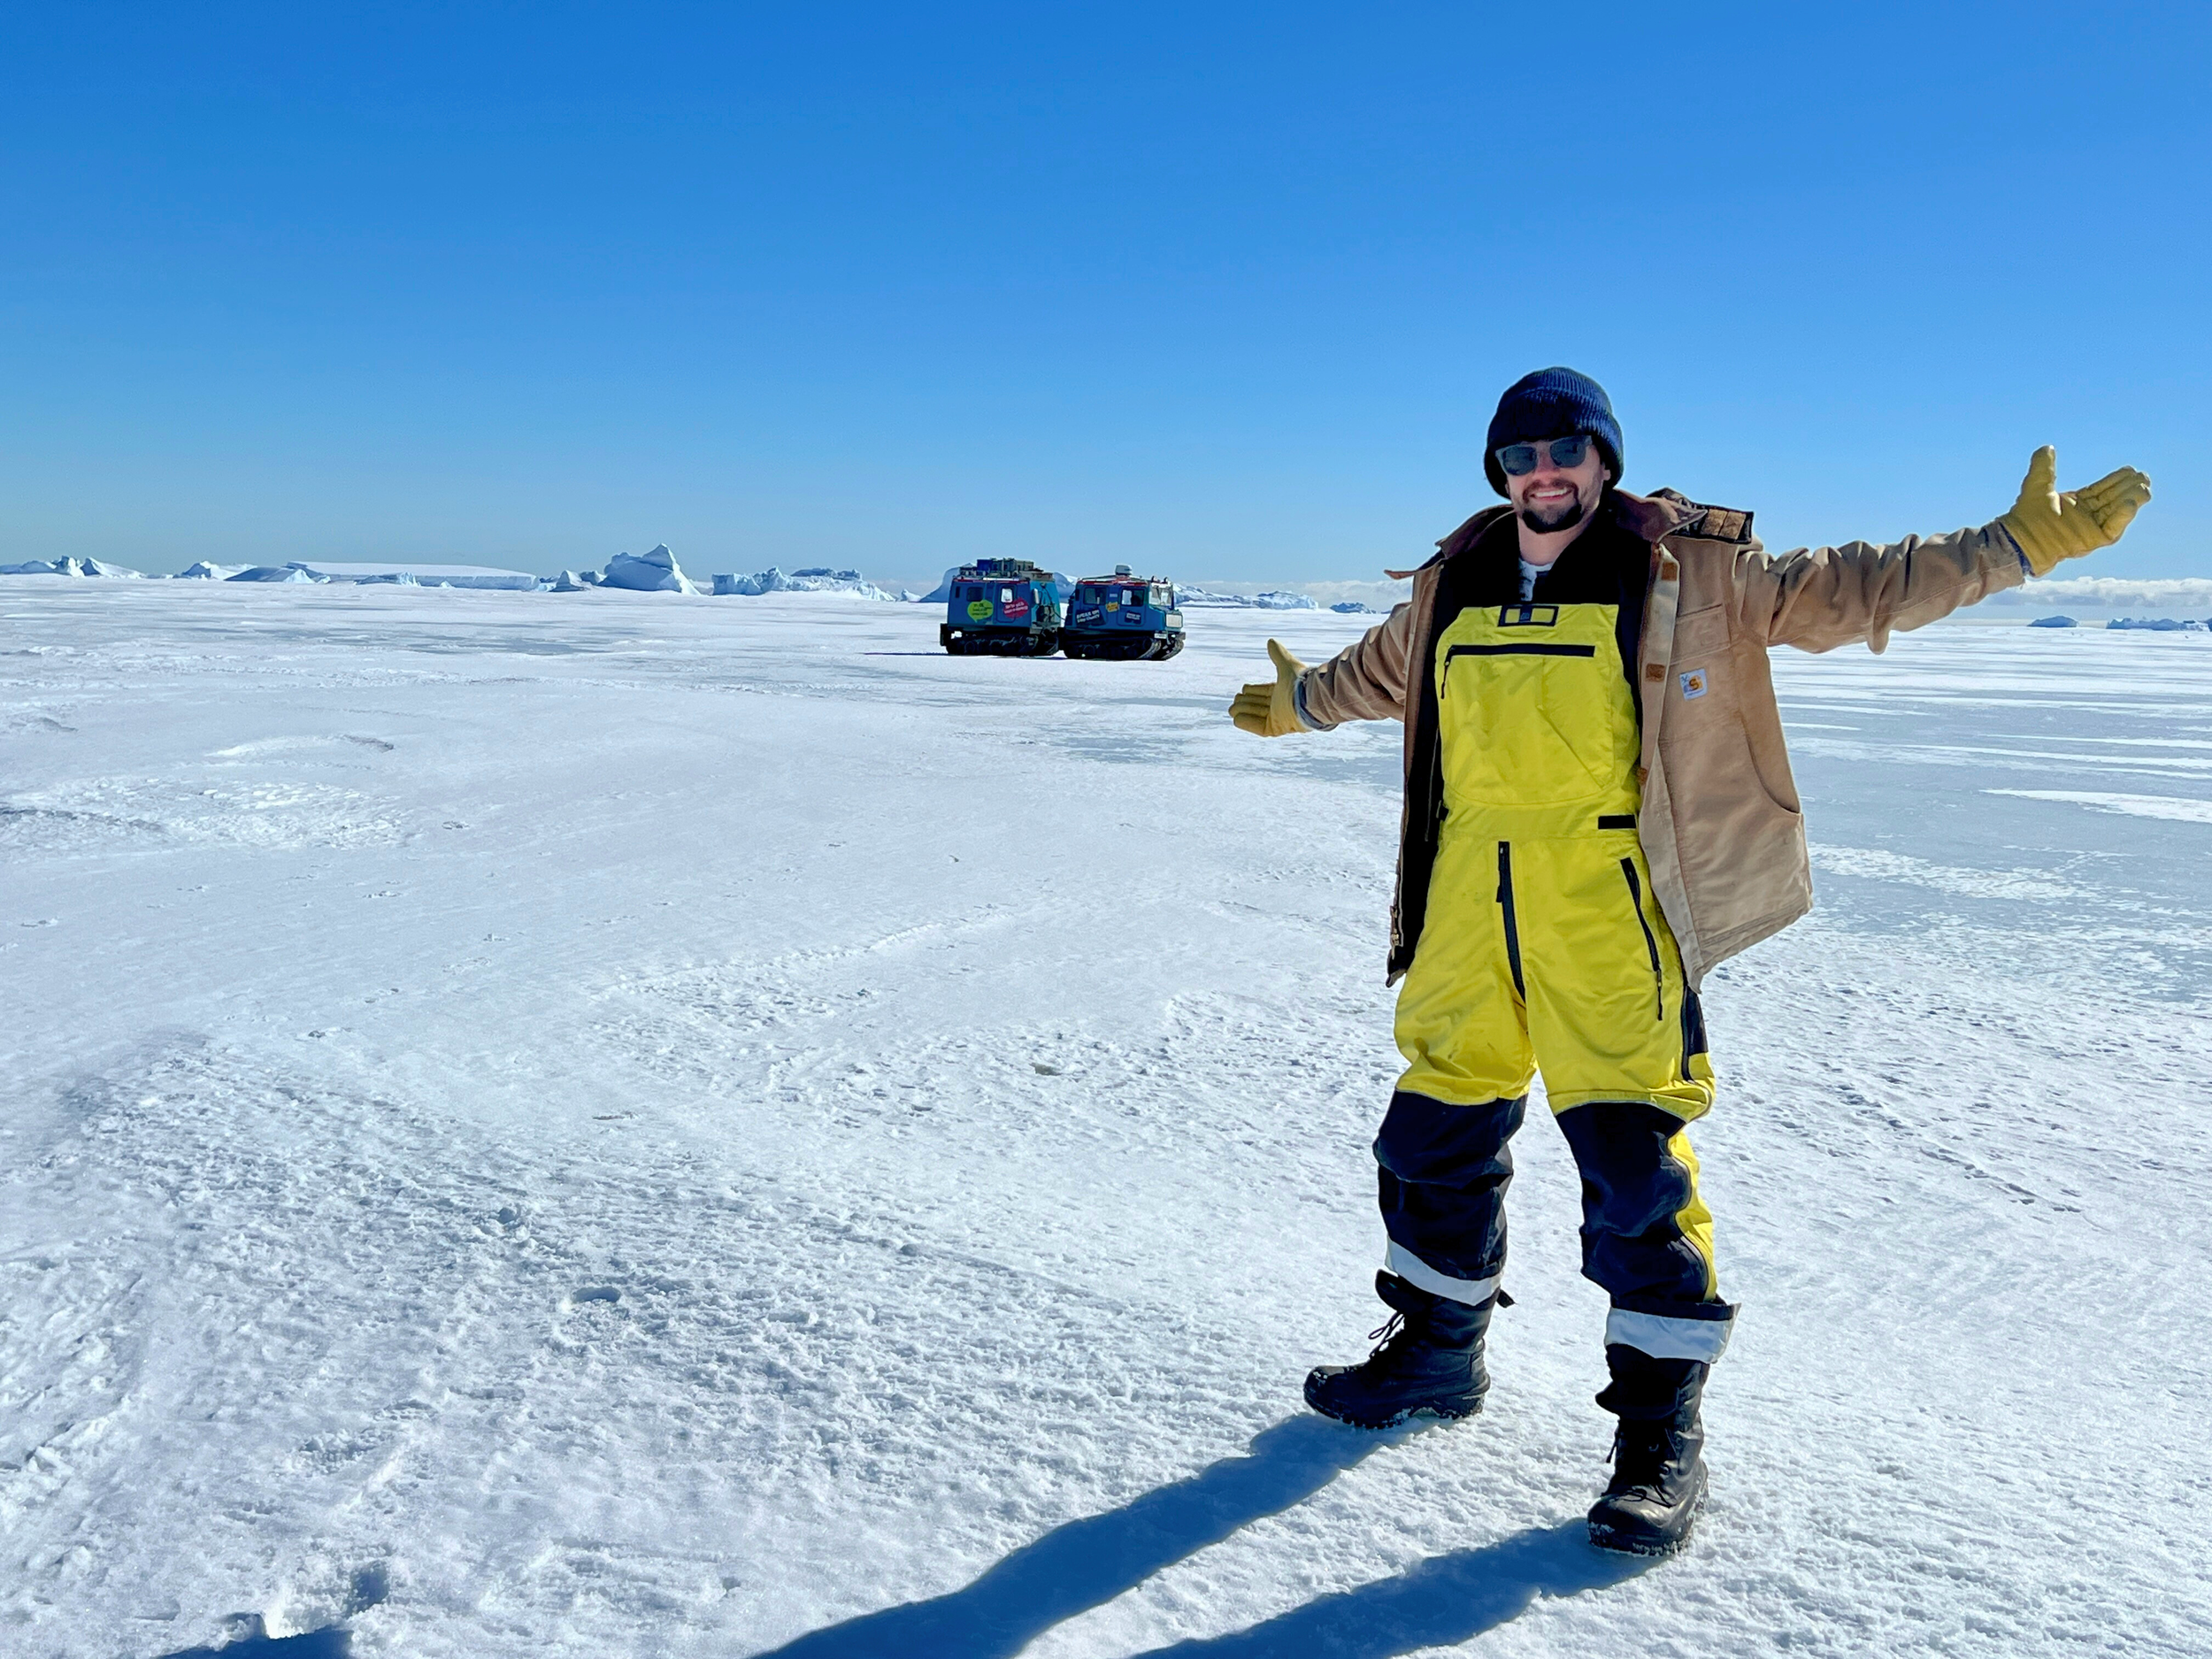
Eastern Antarctica, on an expedition on top of the frozen sea ice, with a Haaglunds in the backfound.
Microphones: Microphone considerations, specifications and what I use. Plus a note on wind protection.
Cabling: Important considerations & recommendations.
Power: What to use, what not to use, and what I use.
Housing: Field recorder considerations, protective case insulation and heating.
Summary & Conclusion
Microphones:
Mics are rated for varying temperatures for both storage and operation. Dynamic microphones are often more durable and can withstand lower temperatures, while our field-recording favourites (sensitive condensers) are usually rated with more restrictive limits.
Microphones & Cables are the most challenging part of a recording setup to insulate and heat. Therefore, the temperature rating must be carefully considered for the local temperatures at your field recording location.
The limiting factor here is usually less the electronics, and more the mic diaphragm. For example:
Schoeps rates their line-up to -10°C, while the internal electronics are rated down to -30°C.
Sennheiser rates their line-up at -10°C
Sonorous Objects rates their mics at -10°C or -20°C, depending on the model.
Many smaller manufacturers do not rate their products. For working in extreme conditions, I absolutely recommend going in with rated mics that you can have the most confidence in.
DPA microphones are what I have chosen to go with. Before my first trip to Antarctica, I purchased 2x DPA 4006s and 2x DPA 4060s for field recording. DPA mics are rated down to -40°C! These are what I recommend going with for cold extremes, or something rated to a similar temperature.
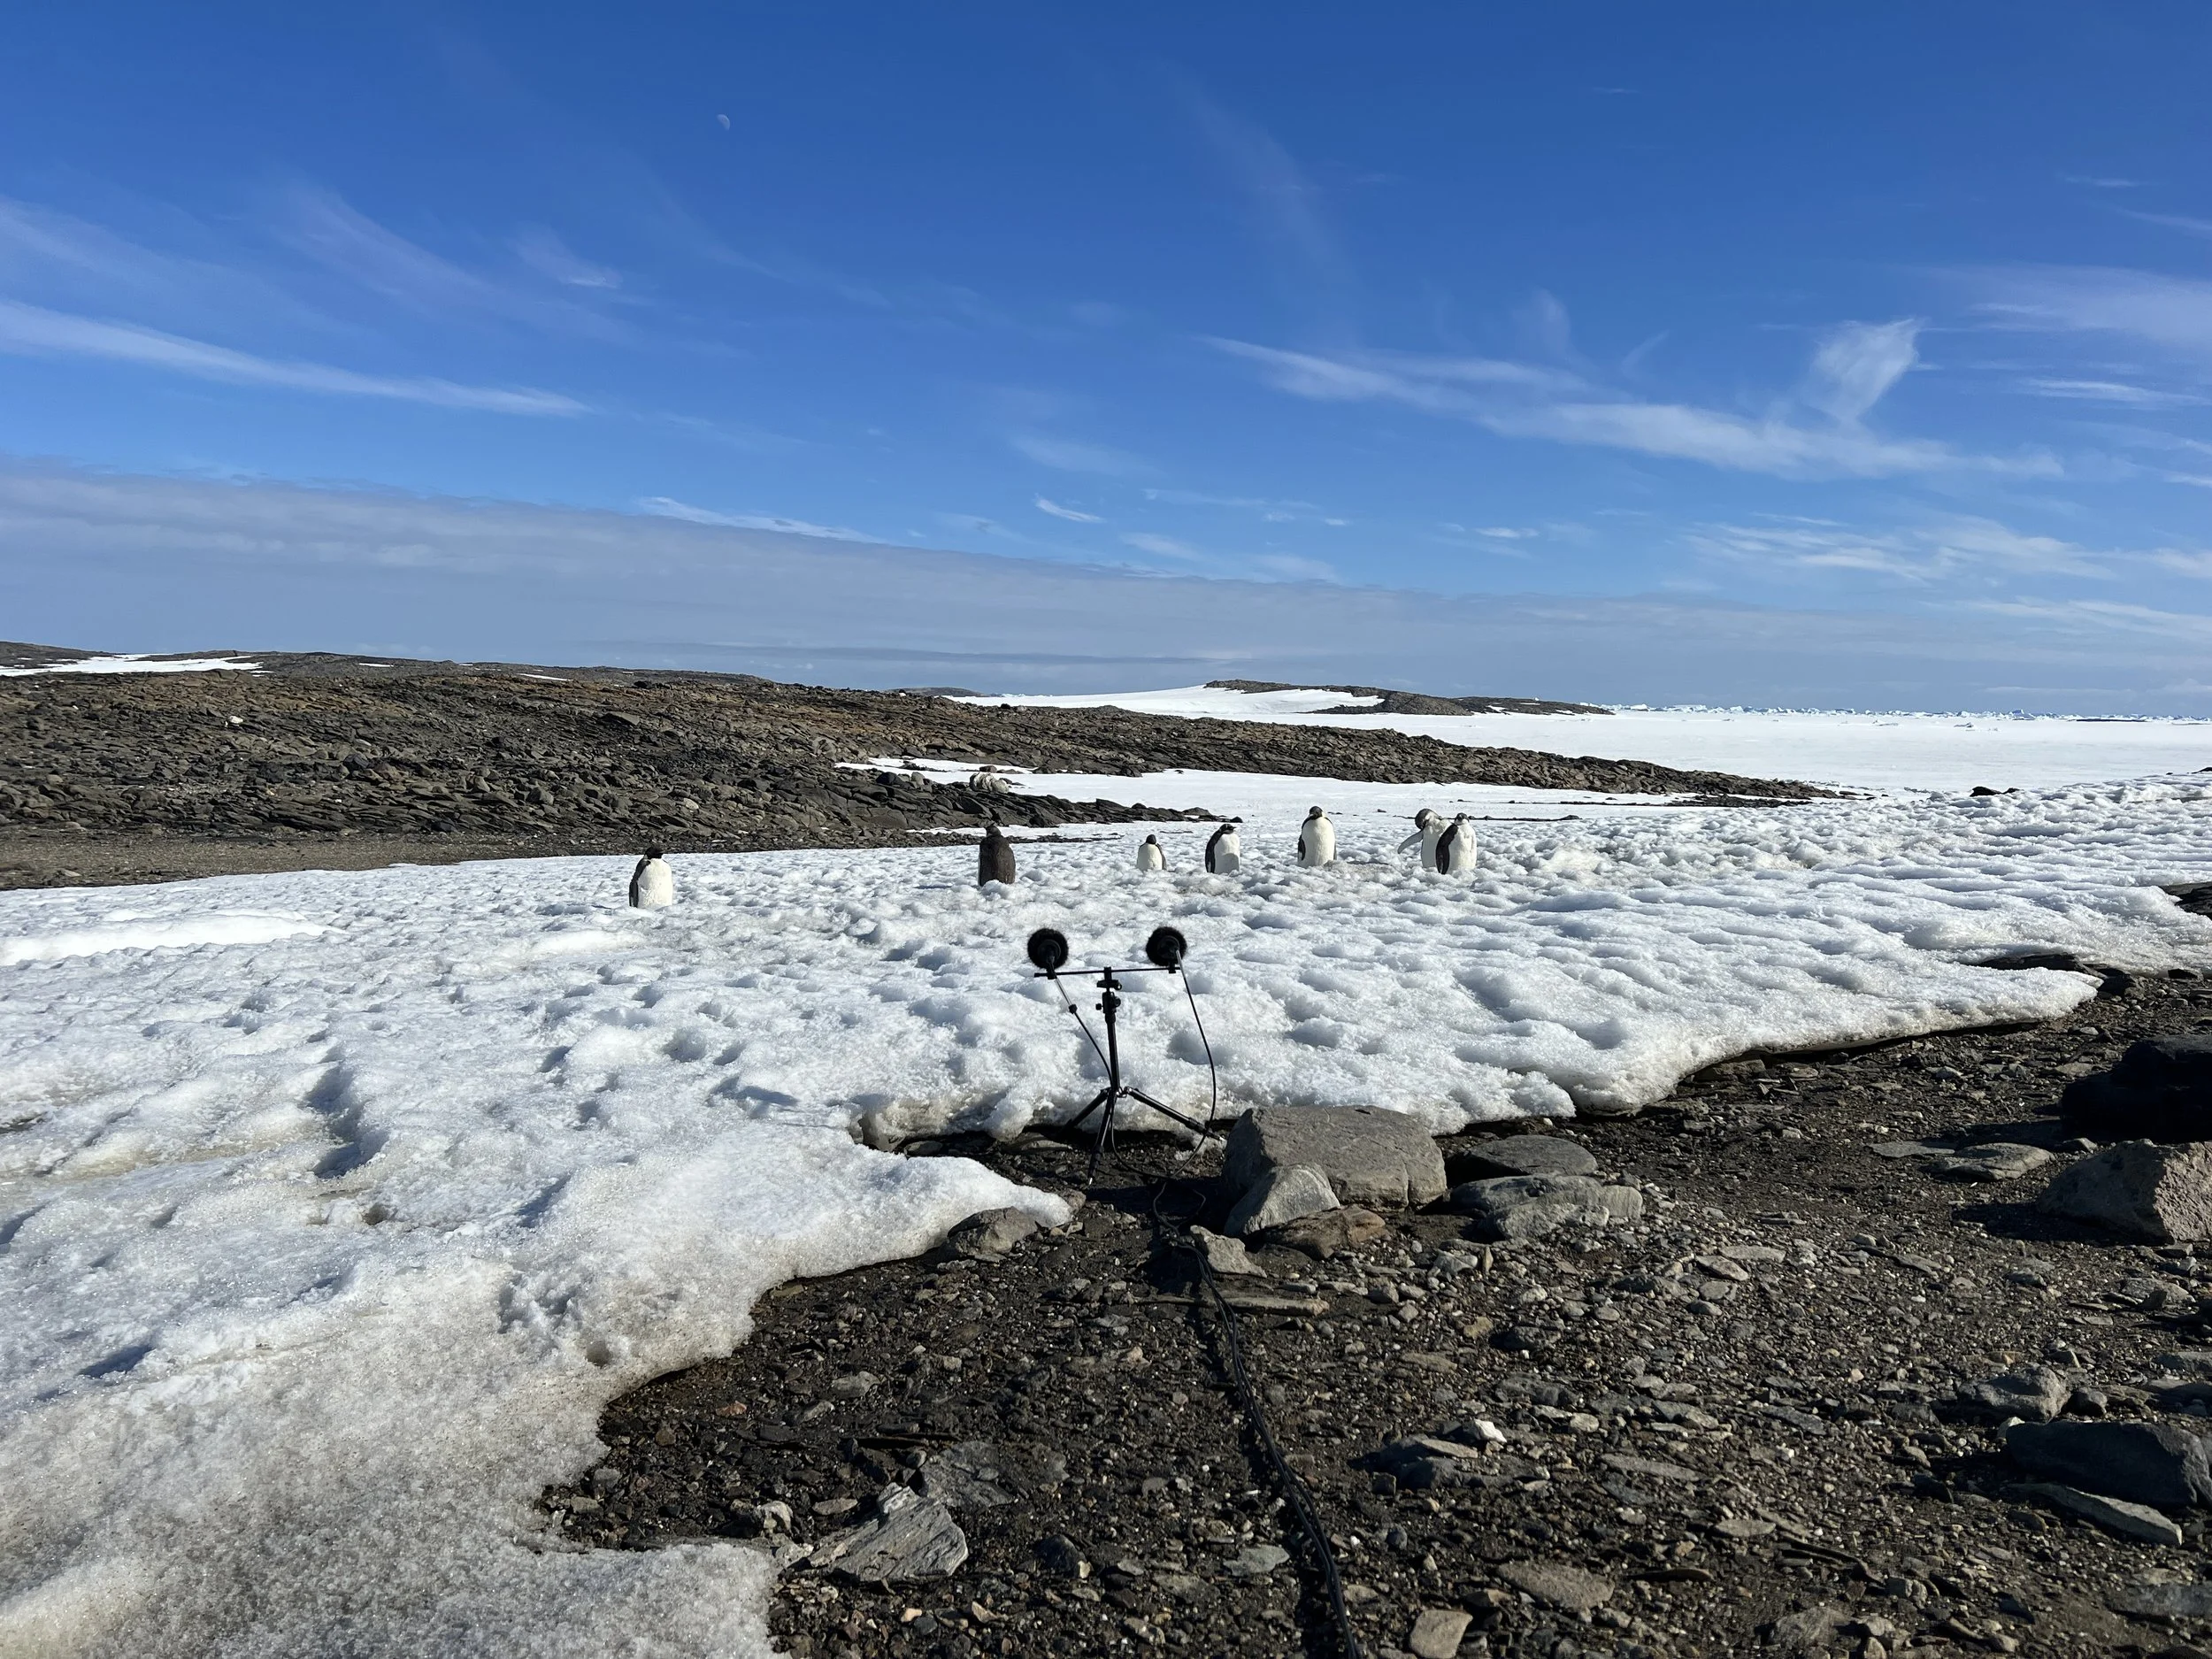
2 x DPA4006’s recording Emperor Penguins on a beautiful day in Eastern Antarctica
Wind protection is also necessary to consider, though unfortunately, not many manufacturers rate these for extreme temperatures.
Rycote Cyclone windshields are rated to -20°C, which is the best I have found.
Cinela do not rate their systems, though I have taken my Pianissimo down to -20°C, and I do expect it to have a minimum similar to Rycotes.
Radius systems are also unrated.
Simple is best regarding wind blimps and furs. For my 4006s, I used a set of DPA shock mounts on a lightweight stereo pole and Bubblebee Windkillers. And for my DMS (double mid-side) setup I used Cinela Pianissimo with a Bubblebee Fur Wind Jacket. Fewer parts are better, as different materials freeze and crack at varying temperatures. Depending on your plans, you may need a larger blimp or different wind protection. In that case, find out what materials it is made of. From there, you can look up temperature-specific details for each material to estimate the likelihood of your setup succeeding. I recommend testing your wind setup in the freezer at progressively lower temperatures before heading on your expedition, to gather more concrete data that the manufacturers don't provide.
Cabling:
It is essential to choose the right cable for the temperatures you expect to work in. Typically, everyday PVC mic cables are only rated to around -10 degrees Celsius.
Regular PVC (polyvinyl chloride) cables stiffen and crack easily in cold environments. Special formulations of high-end PVC cables offer lower temperature tolerances, such as the Mogami 2931, which goes down to -20°C (I used this in the Sub-Antarctic down to -15°C without problems). If you are in doubt about your current cable, look up the manufacturer and part number to find its specifications.
Low-temperature cables are made from more flexible materials, such as PUR (polyurethane) or TPE (thermoplastic elastomer, a blend of rubber and plastic). Both of these types can go down to -40°C or even lower while remaining supple & functional.
I've been using Mogami cabling for my DMS rig, which has survived well in the cold. However, there are some other options you may wish to check out.
Canare cables can have a 'brittle point' rating of -49°C, such as the L-4E5C. This isn't an operational spec, so test it in a freezer first and listen for cracks and noise when moved.
Sommer Cables have an operating temperature down to -25°C.
Check out those three brands and see if you can find a local provider that can offer something to suit your needs. Please do not go cheap on your cables; they are the backbone of your recording, and they will degrade in the cold unless explicitly rated for it. The right cable for you will depend on your setup, microphones, and recording device. Most importantly, check the cable's minimum operating temperature rating. If you pay attention to that, you won't go wrong.
Power Source:
Batteries are a primary concern in the cold, even if the rest of your gear is rated for extreme conditions; battery chemistry will be the first thing to fail in sub-zero conditions. Here is a short list of what I use, what not to use, and my recommendations.
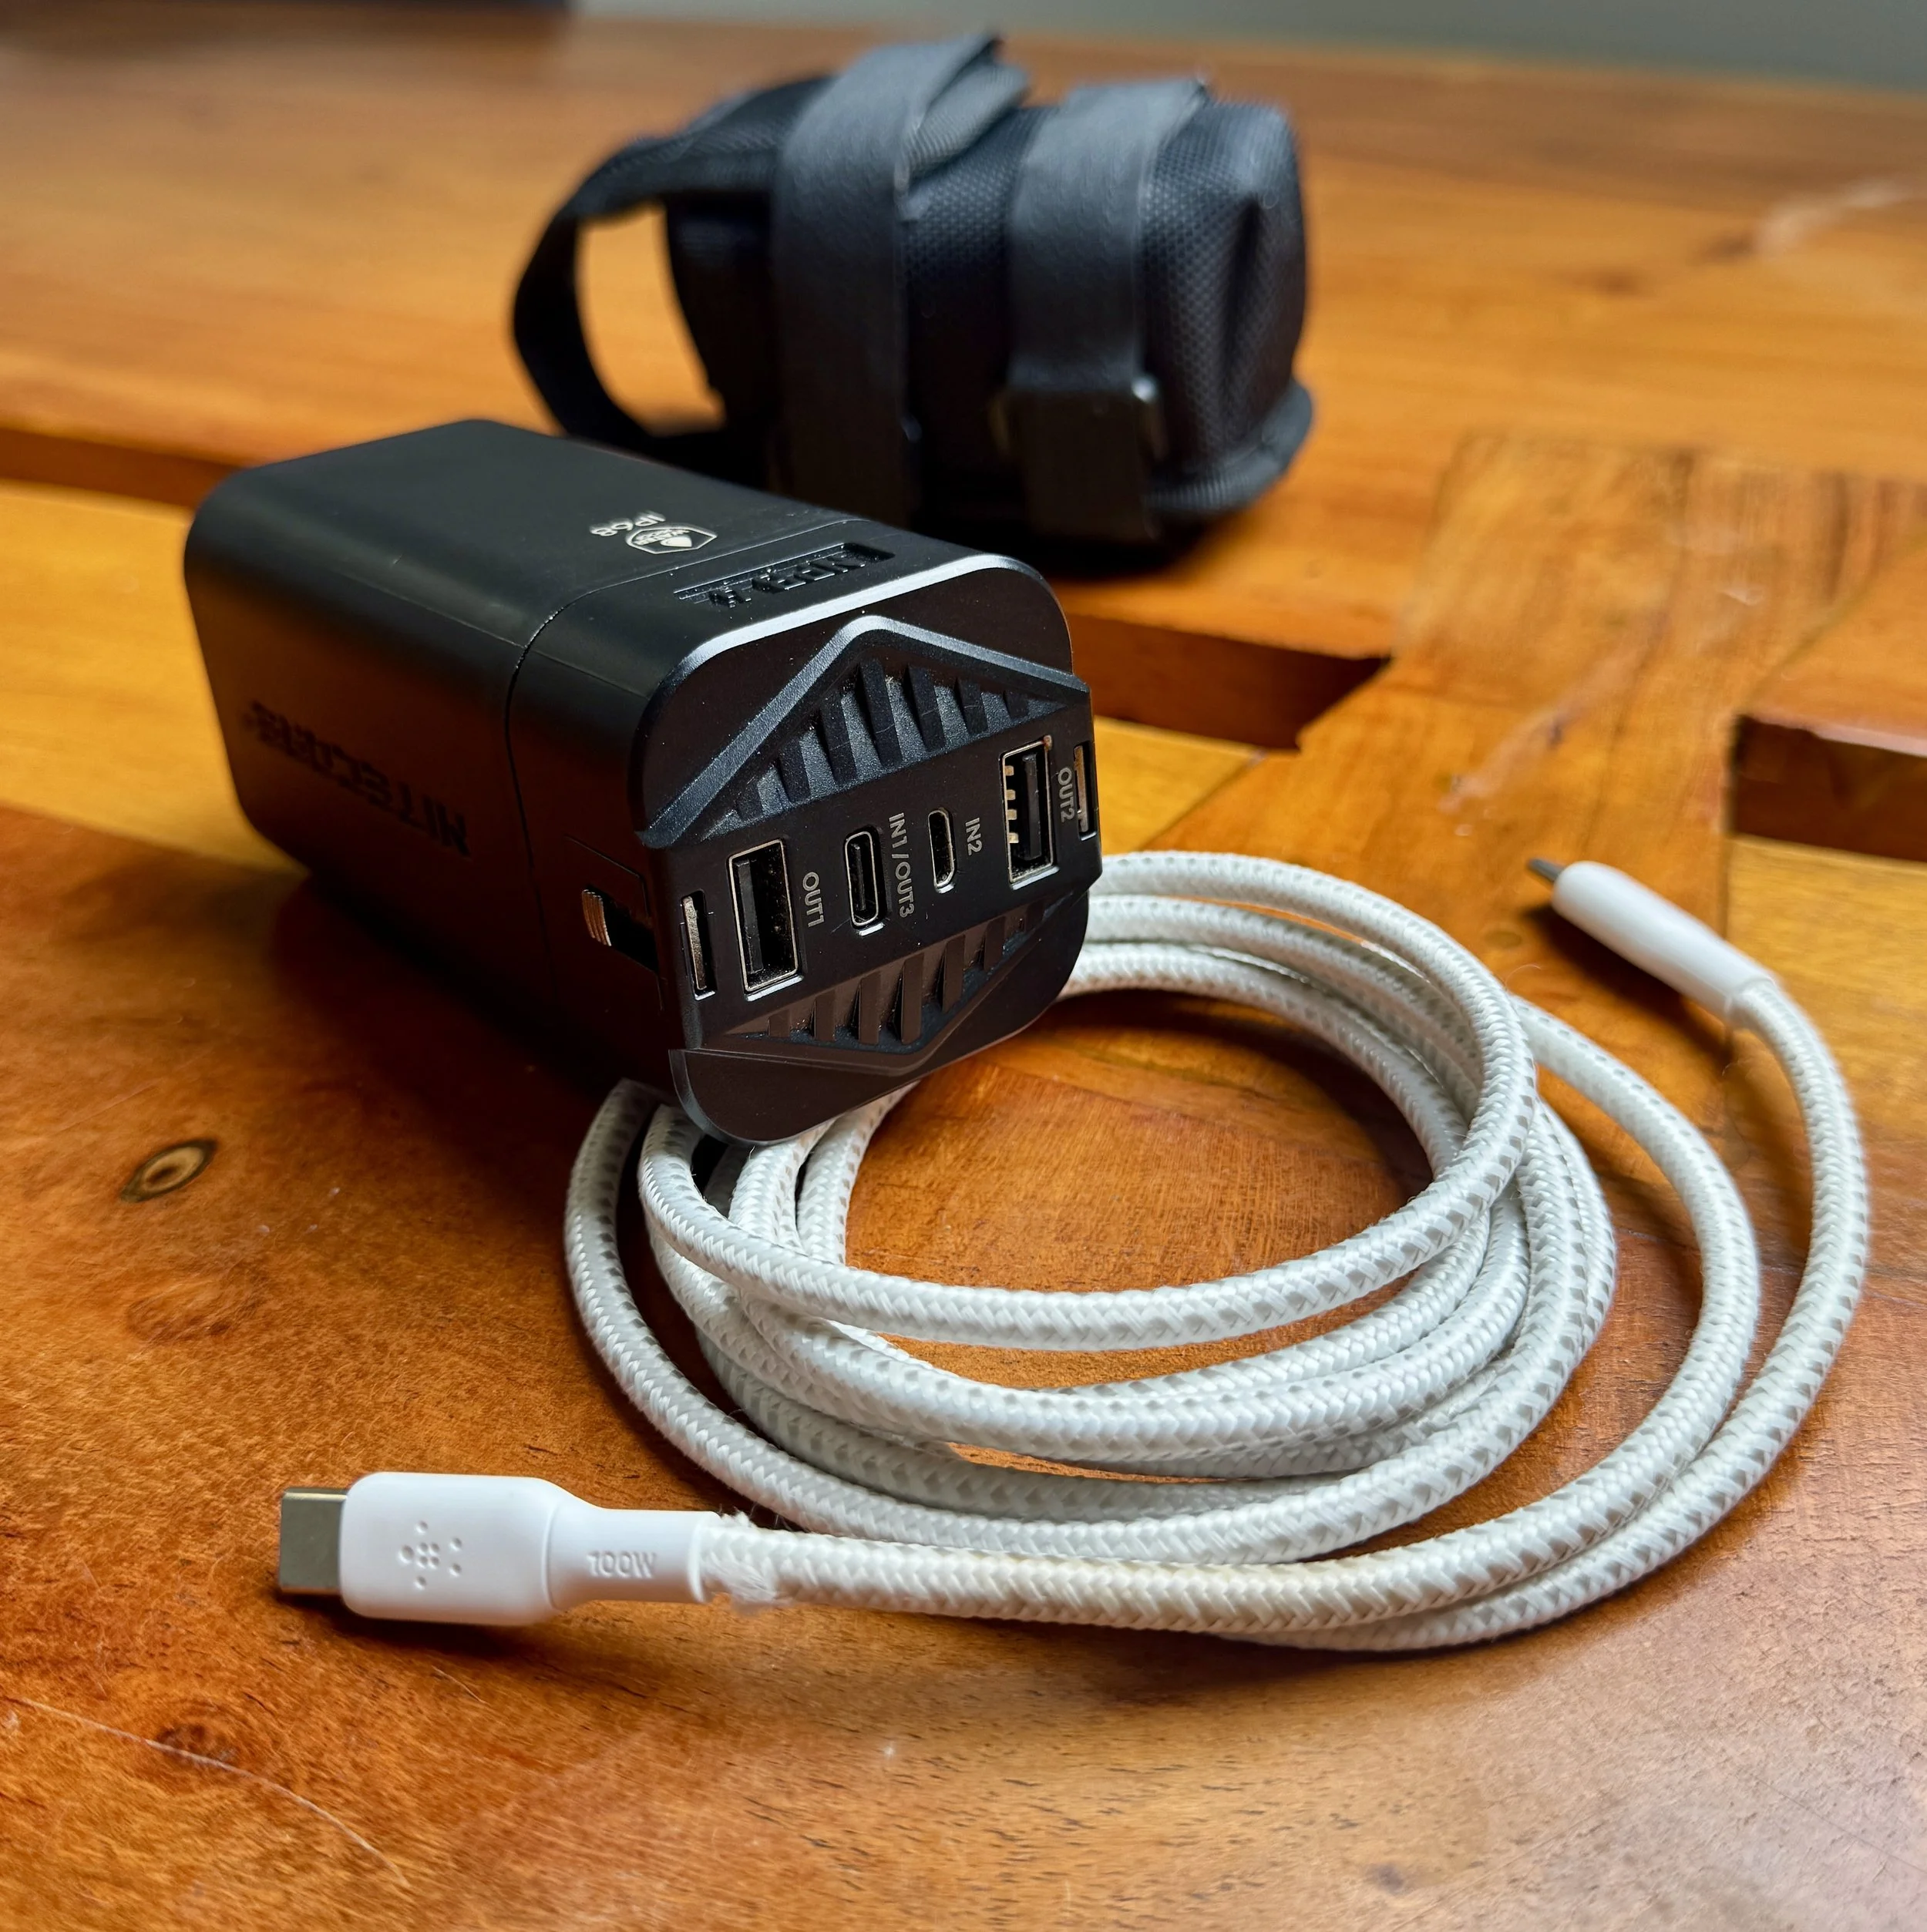
Typically, I use a USB-C Li-ion power bank for my drop rigs (Nitecore NPB4). It's excellent for its 20,000 mAh capacity and IP68 rating; however, Li-ion batteries are only rated for -10°C and experience significant capacity reduction at that temperature. So, I use insulation and even heat packs when working with these in cold temps, and they work amazingly.
Do not use regular Alkaline batteries; they lose a considerable percentage of capacity below 0 °C, and may even stop working.
NiMh batteries cost $45 AUD or $30 USD for a 4-pack from AA Eneloop Pros. They are rated for -20°C and are rechargeable. I have used these within their rated range with success. However I recommend using insulation and heating if using these below 0°C due to significant loss in capacity in the cold. If you do house them, they can last for many hours. Remember to let them warm back to room temperature before recharging.
Lithium-Iron Disulfide batteries are non-rechargeable and rated to -40°C. They are available in standard sizes such as AA and AAA, and they cost about the same as NiMH batteries for a 4-pack from Energiser. I recommend keeping these on hand as reliable power sources that require minimal insulation and heating. They are a great backup if conditions don't favour rechargeables.
Lastly, I recommend you house your recorder and batteries inside a Pelican case or similar. This will act as insulation, and provide opportunity for heating - Continue onto the housing section for more.
Housing:
Okay, here I want to talk about field recorders. You can absolutely buy a field recorder with low-temperature tolerance; however, that can be extremely expensive, restrictive and difficult. What is more important is using an insulated and heated case. Using housing can take a field recorder rated at -10°C and enable it to operate in much colder environments. This way, you can use your recorder of choice, rather than purchasing a cold-specific device.
That being said, some devices have a very limited temperature range, and I would not recommend their use in the cold, such as almost any handheld recorder (5°C min in some instances) and Tascam recorders (0°C min). Here are a few popular devices and their temp specs.
The Zoom F series of recorders is not rated; however, I have successfully used them at -15°C.
Sound Devices are rated around -20°C.
Nagra offers devices that can handle down to -30°C (Nagra Seven) and even lower for their vintage models!
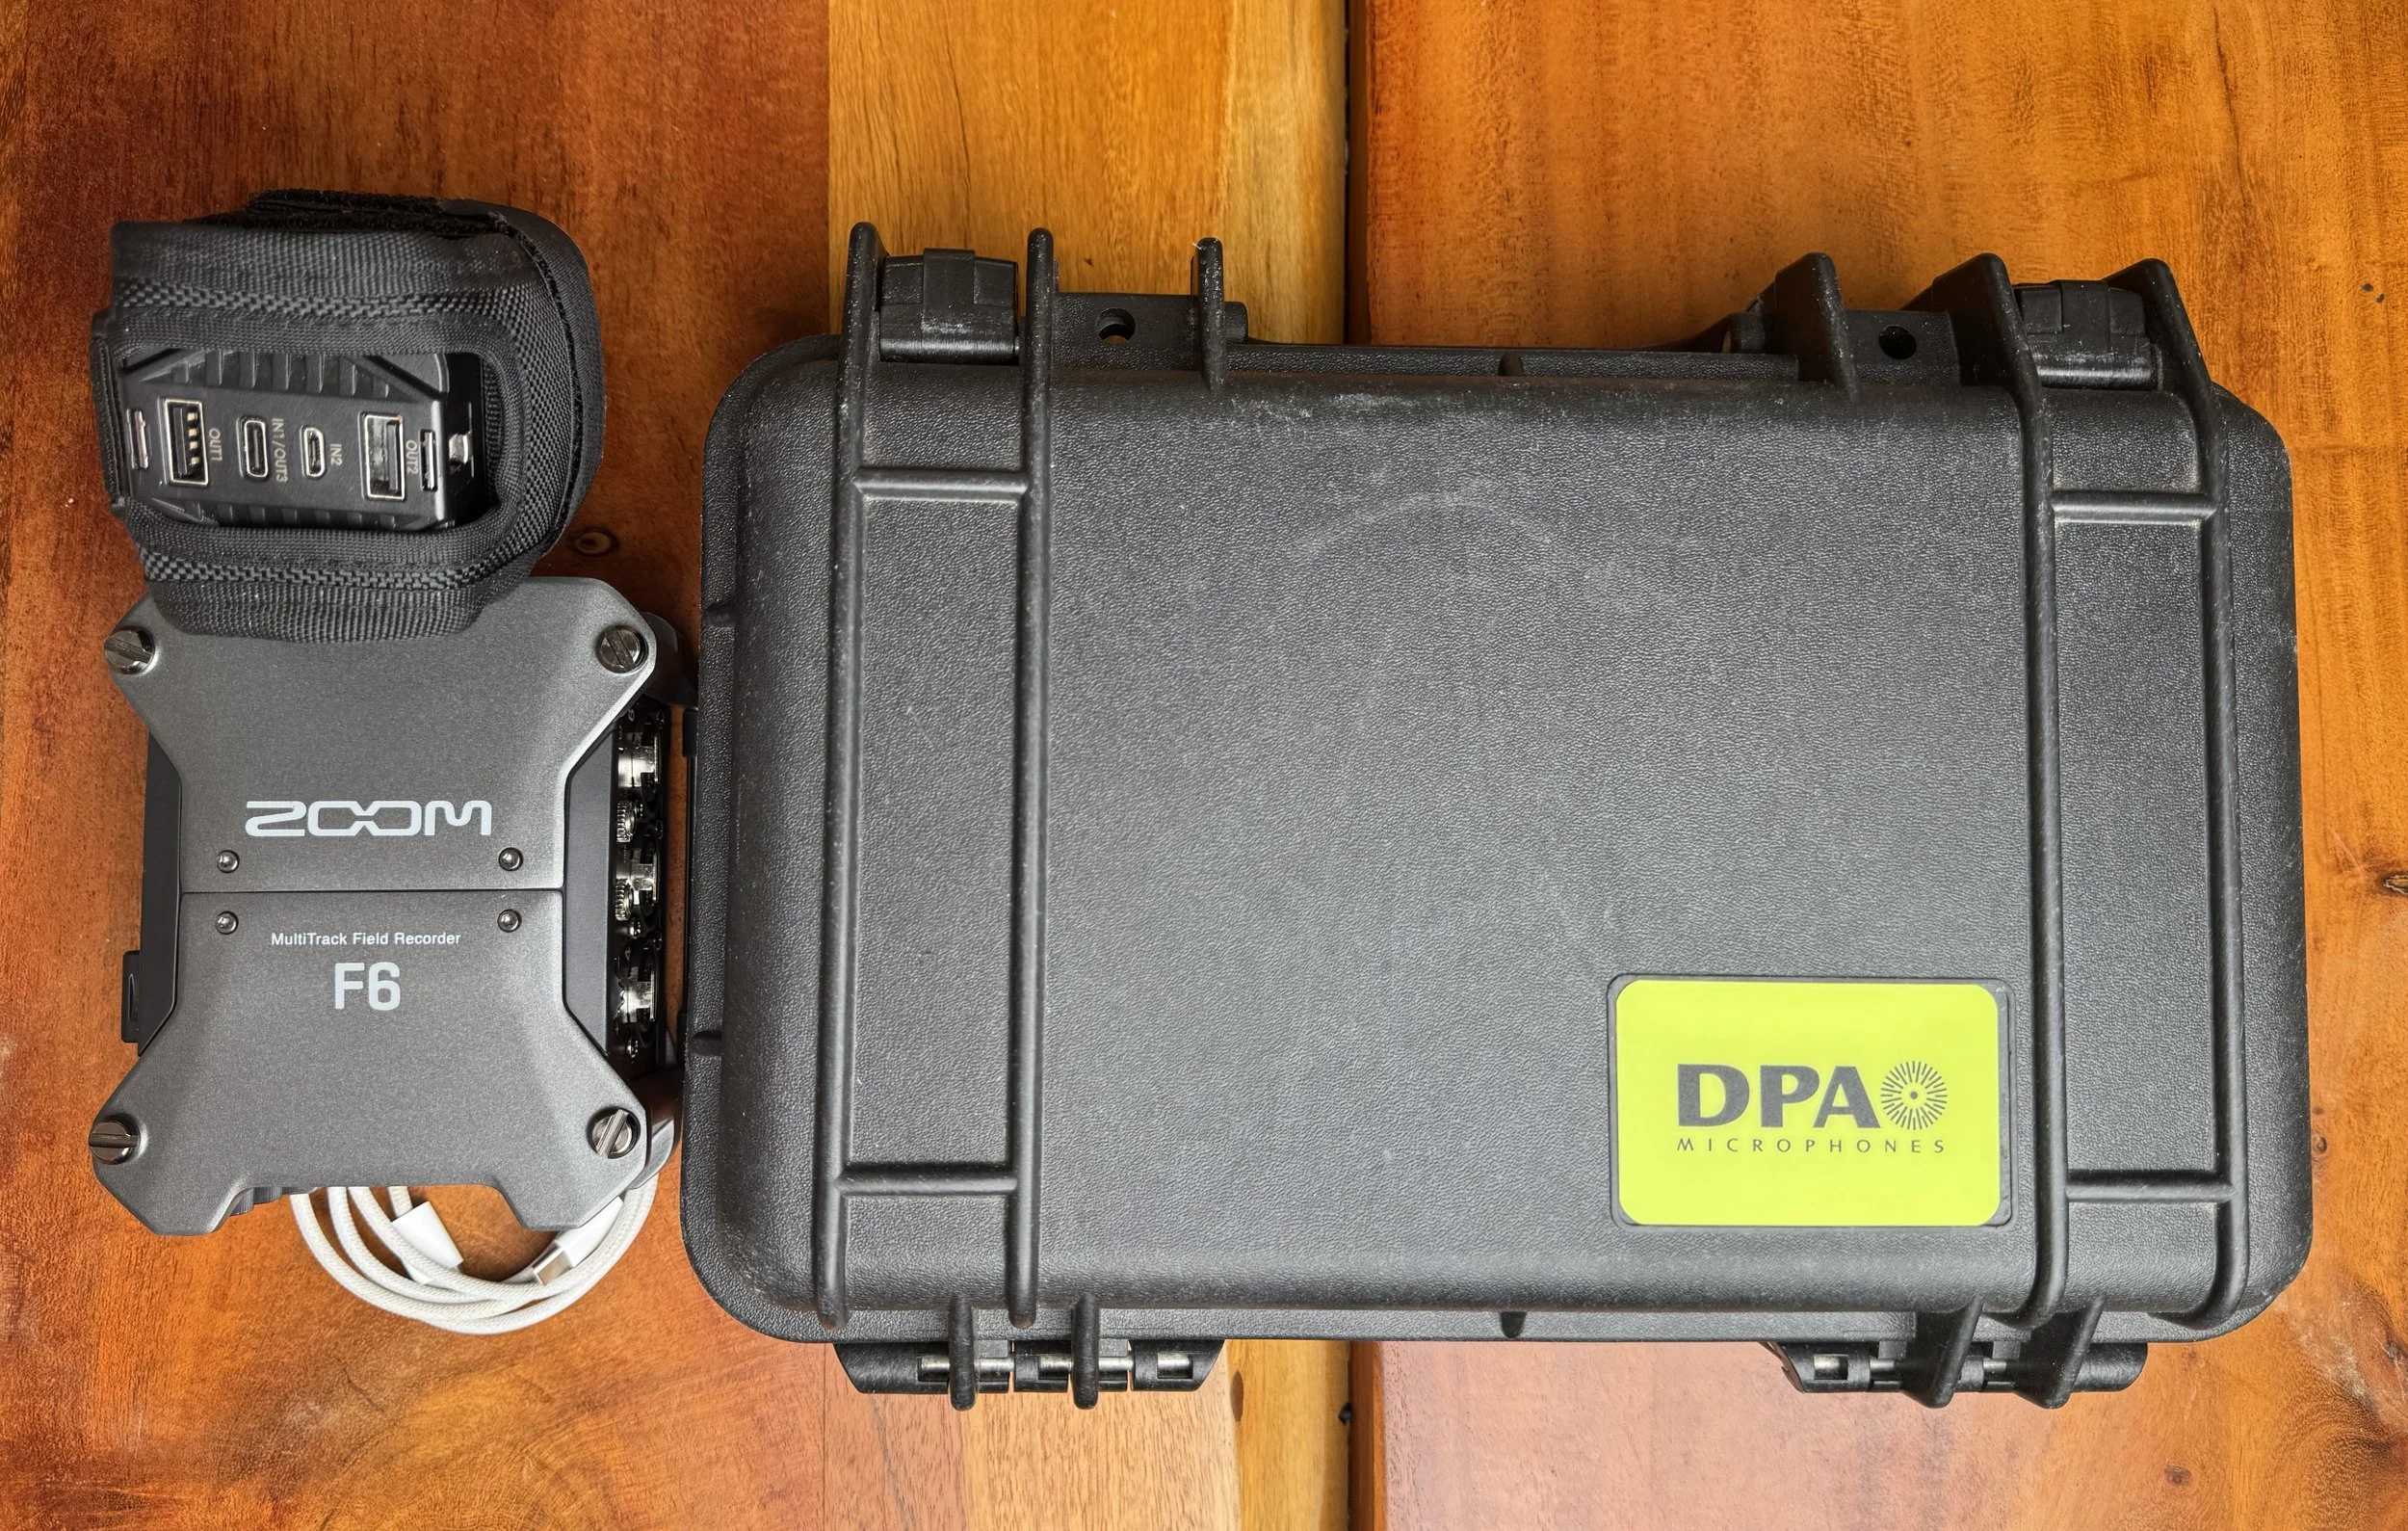
I used my DPA mic case as my protective housing for cold environements! Inside I keep my F6, battery and heat packs as well as a small insulative blanket to wrap around them right before recording. It also has a foam lining.
Back to the case:
In your cold-temp case, you will have not only the recorder but also the batteries. This enables the use of lower-rated but professional devices in much colder temperatures. You can heat the internals by cracking a heat pack or two inside. With heat and sufficient insulation (interior foam, small blanket), you can keep the cold away from your devices for a few hours.
To make an insulated case, you can often use the portable hard case your recorder or mics came in, which usually already has interior foam. Otherwise, you can purchase a weatherproof Pelican case with internal foam and cut-out a custom area for your recorder, batteries and heat pack. To enable cable ingress/egress, I recommend drilling a hole or two and installing weatherproof cable glands. You can also keep some dessicant sachets inside to reduce moisture.
Summary & Conclusion
By choosing mics with rated low-temperature performance, selecting cabling designed for flexibility in deep cold, carrying redundant battery chemistries that deliver in your desired ranges, and protecting your recorder and power source inside an insulated, heated housing, you can record in brutal environments and even operate gear in environments they were never intended for.
There's no single "Antarctic-proof" setup, but with the proper preparation, testing, and redundancy, you can confidently work in some of the harshest environments on the planet. The more you understand how your gear behaves in the cold, the more freedom you'll have to focus on what you're really there for: capturing rare, powerful sounds that few people ever get the chance to hear.
If you’ve enjoyed this blog, please subscribe to my newsletter below.
Thanks for reading - Andy